
In our ongoing series about the exposure triangle, we’ve explored ISO and its impact on your photos. Today, we’re zeroing in on another crucial element: Aperture. Understanding aperture is key to controlling depth of field and managing light in your images.
Quick Recap of the Exposure Triangle:
- ISO: Controls the sensor’s sensitivity to light
- Aperture: Regulates the amount of light entering the camera through the lens
- Shutter Speed: Determines how long the sensor is exposed to light
Now, let’s delve into the world of Aperture.
What is Aperture?
Aperture refers to the opening in your camera’s lens through which light passes. It’s like the pupil of an eye, expanding or contracting to let in more or less light. Aperture is measured in f-stops, such as f/1.4, f/2.8, f/4, f/5.6, f/8, f/11, and f/16.
Here’s the key thing to remember:
The smaller the f-number, the larger the aperture opening, and vice versa.
How Aperture Affects Your Images:
- Light Control:
– Larger apertures (smaller f-numbers) allow more light into the camera.
– Smaller apertures (larger f-numbers) reduce the amount of light entering the camera.
- Depth of Field:
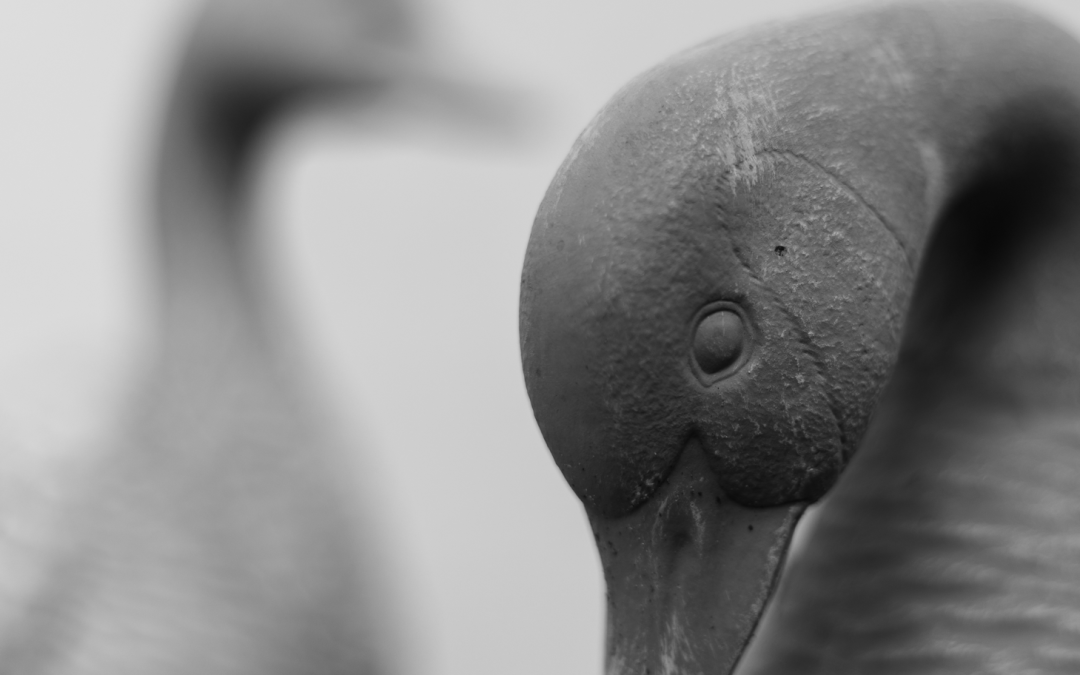
– Larger apertures (e.g., f/1.8) create a shallow depth of field, where only a small portion of the image is in sharp focus.
– Smaller apertures (e.g., f/16) increase depth of field, keeping more of the image in focus from foreground to background.
- Sharpness:
– Most lenses have a “sweet spot” (usually around f/8 to f/11) where they produce the sharpest overall images.
– Very small apertures can sometimes reduce overall sharpness due to an effect called diffraction.
F1.8
When to Use Different Aperture Settings:
– Large Apertures (f/1.4 to f/4):
- Portrait photography, to blur the background
- Low light situations, to allow more light in
- When you want to isolate a subject from its background
– Medium Apertures (f/5.6 to f/8):
- General photography where you want a balance of sharpness and background blur
- Group photos, to ensure everyone is in focus
– Small Apertures (f/11 to f/22):
- Landscape photography, to keep both foreground and background sharp
- Architectural photography, to capture details across the entire frame
F16
Practical Tips for Using Aperture:
- Experiment with Depth of Field: Take the same photo at different apertures to see how it affects your image.
- Consider Your Subject: Ask yourself how much of the scene you want in focus.
- Mind Your Shutter Speed: Remember, as you close down your aperture, you’ll need to use slower shutter speeds or higher ISO to compensate.
- Use Aperture Priority Mode: This camera mode lets you set the aperture while the camera adjusts shutter speed automatically.
Understanding and mastering aperture gives you creative control over your images, allowing you to guide the viewer’s eye and create the mood you want in your photographs.
In our next article, we’ll complete our exploration of the exposure triangle by diving into Shutter Speed. Stay tuned!